Cleaning the freeze dryer is definitely important!
It doesn’t need to be done after every batch, but it does need to be kept nice and clean!
Ok, the Ice Queen (which is really a Harvest Right Home Pro Medium) needs to be cleaned. Cleaning the freeze dryer is actually super simple and doesn’t take very long. Does it need to be done all the time? No. But keeping the freeze dryer clean is important to make sure it runs well, foods don’t fall and accidentally sit at the bottom for tons of time (gross, it could mold), and to just keep it well maintained in general.
Cleaning the freeze dryer goes hand in hand with changing the oil, both absolutely must be done regularly to keep the machine in great working order!
Let’s start cleaning!
To clean this freeze dryer, you first need to take things off and out. Open the door all the way, so it stays open. Then you want to…
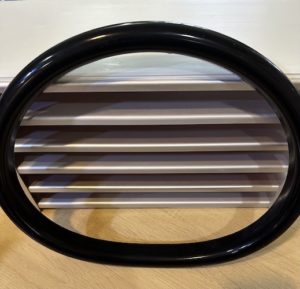
- Remove the black sealing ring. The internal rack cannot be removed without first removing the sealing ring.
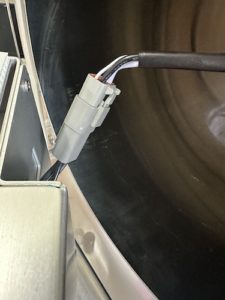
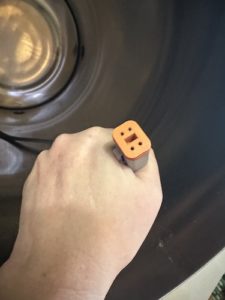
- Slowly pull out the internal rack and unplug it – this may take two people, as the plug is one of those that requires you push in a little tab to get it to come apart. I needed hubby to unplug it while I held the rack.
- The drum is now empty. Clean this using a damp rag. The water can be mixed with a bit of vinegar to clean, though it’s probably not necessary.
- Clean the black sealing ring – just clean it in the sink with some water. After it’s clean, dry the ring off with a rag.
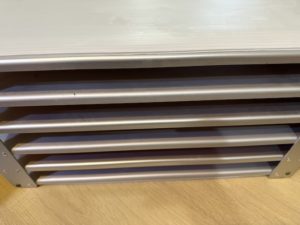
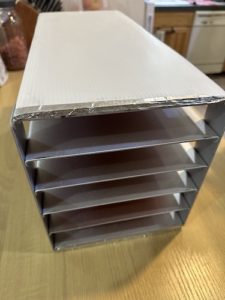
- Clean up the rack. Again, most of the time just a damp rag will work perfectly. While cleaning the rack, make sure to clean both the bottom and top of each slot. I clean them from one side, then clean from the other. This makes it so I can reach all the way to the center of each rack slot.
- Finally, do a quick clean of the door, both inside and out. Like everything else, this usually only requires a damp rag. Make sure to get any stuck things off the glass.
Now let’s put it back together 
- First, put the rack back in. Hold the rack near the drum and plug it back in (again, may need two people for this quick part).
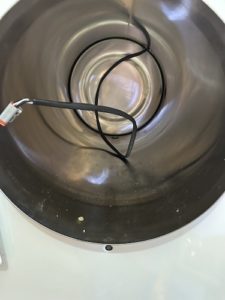
- Then, carefully slide the rack in. You don’t want it to catch on the cord or accidentally get the cord stuck between the rack and the drum.
- And finally, put the sealing ring back on and shut the door to make sure the sealing ring is all the way on.
- All done! The entire process takes me about 15 minutes.
Happy freeze drying!!


